Pi-hole has been on my radar for quite some time. After being overwhelmed by the ads on my mobile, I decided to give it a go. Pi-hole in short, blocks all ads on the DNS level.
For our computers, it’s easy to set up an adblocker.
What about a smart-TV though? How can one ensure that their purchase is ad-free? The fact that this is even reality is audacious, but let it be for now. We want to verify that our TVs are full of corny sitcoms and nothing else. In the case of mobiles, even if we can run adblocker (for example Firefox mobile) we can’t take the performance hit.
The Pi-hole® is a DNS sinkhole that protects your devices from unwanted content, without installing any client-side software.
- Easy-to-install: our versatile installer walks you through the process, and takes less than ten minutes
- Resolute: content is blocked in non-browser locations, such as ad-laden mobile apps and smart TVs
- Responsive: seamlessly speeds up the feel of everyday browsing by caching DNS queries
- Lightweight: runs smoothly with minimal hardware and software requirements
- Robust: a command line interface that is quality assured for interoperability
- Insightful: a beautiful responsive Web Interface dashboard to view and control your Pi-hole
- Versatile: can optionally function as a DHCP server, ensuring all your devices are protected automatically
- Scalable: capable of handling hundreds of millions of queries when installed on server-grade hardware
- Modern: blocks ads over both IPv4 and IPv6
- Free: open source software which helps ensure you are the sole person in control of your privacy
Setup
My colleague Chris has written a great tutorial using balena. In my version, I’ll use Rasbian instead.
-
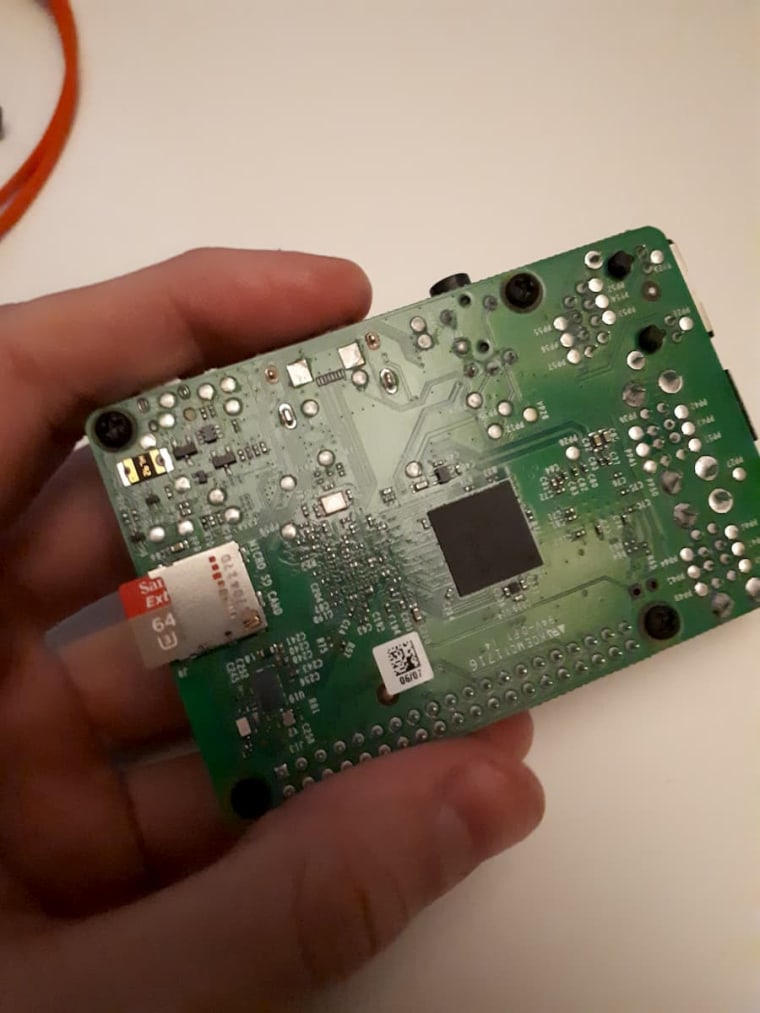
Raspberry Pi ('B' in my case)
-
SD card (I use a leftover SanDisk extreme 64GB)
-
Ethernet cable
-
Raspberry power adaptor
-
Etcher (In order to flash the Rasbian image)
-
Your favorite SSH client (I’ll use macOS terminal)
Preparing the Raspberry Pi
First, let’s get the Raspbian Lite image, and then Etcher in order to flash it.

If you’re an owner of a MacBook Pro with two USB-C ports like me, get your dongles ready.

When the flashing is complete, we have to enable SSH on the device. That's very simple, as we only have to create an 'shh' file in the root directory.
# 'cd' in /Volumes/{name-of-the-media}

touch ssh
Great, now let’s get these two lovebirds together, and plug the Pi in the router I decided to use Ethernet for steady connection.

Nothing out of order here

Preparing the installation
Cool beans. Now we need to get the IP address of the Pi. Simply log in to your router's admin panel and check the connected devices.

Alright, let’s SSH into our Rasbian image pi@{ip-of-the-device}. The password is raspberry (use passwd to change it).
Before we continue, let’s bring our image up to date
sudo apt-get update
sudo apt-get dist-upgrade
and then run the install command
curl -sSL https://install.pi-hole.net | bash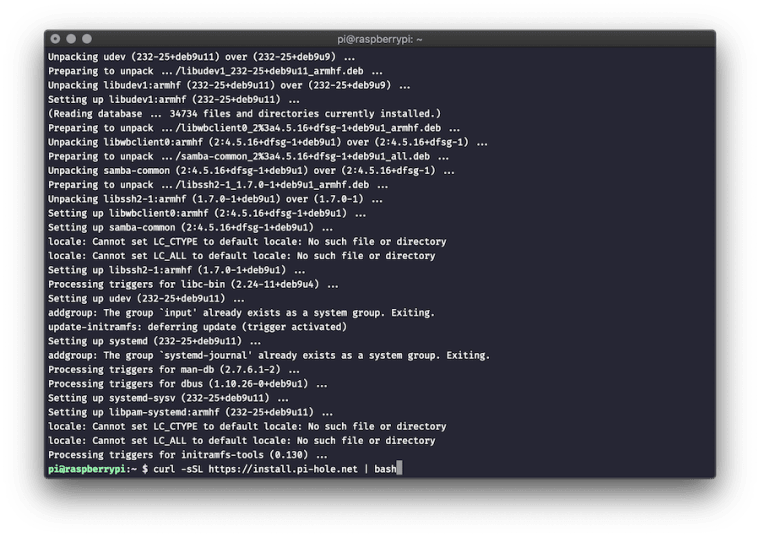
and you will see this lovely image. The pink screen of progress.

Really now it’s up to you. Follow along with the wizard, and pick whatever suits your use case. When everything is said and done, we can go check the dashboard!
Remember to change the password before quitting the terminal session with pihole -a -p

Dashboard

I love this already. I’m a sucker for graphs, even if I don’t understand a thing.
Let’s get some extra lists from blocklist
https://blocklist.site/app/dl/crypto
https://blocklist.site/app/dl/drugs
https://blocklist.site/app/dl/fraud
https://blocklist.site/app/dl/fakenews
https://blocklist.site/app/dl/gambling
https://blocklist.site/app/dl/malware
https://blocklist.site/app/dl/phishing
https://blocklist.site/app/dl/porn
https://blocklist.site/app/dl/proxy
https://blocklist.site/app/dl/ransomware
https://blocklist.site/app/dl/redirect
https://blocklist.site/app/dl/scam
https://blocklist.site/app/dl/spam
https://blocklist.site/app/dl/torrent
https://blocklist.site/app/dl/tracking
https://blocklist.site/app/dl/facebook
https://blocklist.site/app/dl/youtube
and place them in Settings/Blocklists.
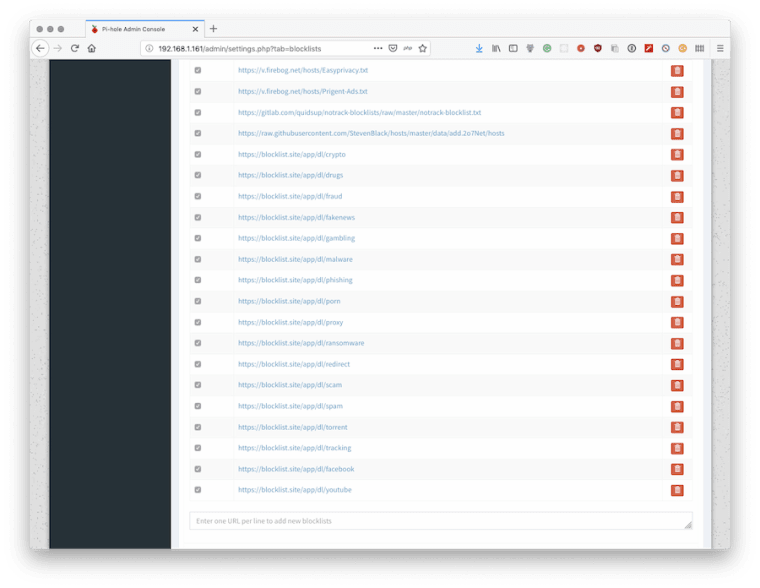
I've also scanned through Reddit and played around with various others like:
https://v.firebog.net/hosts/Easyprivacy.txt
https://v.firebog.net/hosts/Prigent-Ads.txt
https://gitlab.com/quidsup/notrack-blocklists/raw/master/notrack-blocklist.txt
https://raw.githubusercontent.com/StevenBlack/hosts/master/data/add.2o7Net/hosts
Caveats
- Make sure you have a static IP for the Raspberry Pi. Modern routers are smart enough to assign the same IP, but let’s be extra careful.
- We have to be up-to-date with the block lists. For smart TVs with 0 protection that’s good enough. But for your other devices, if you can add another level of protection like Little Snitch that would be great.
Moving on
Well now, it’s up to both of us to use it more. I’m sure there must be some false positives, so with everyday use, these issues should be ironed out.
I’ll keep the Pi as my DNS server for my own laptop & mobile, but let my work-related one talk with the router directly. Better not mess with meetings for such an experiment :)
Resources
I’m not a clever man, I used this guide and the dedicated subreddit for help.